
Last updated November 21, 2026
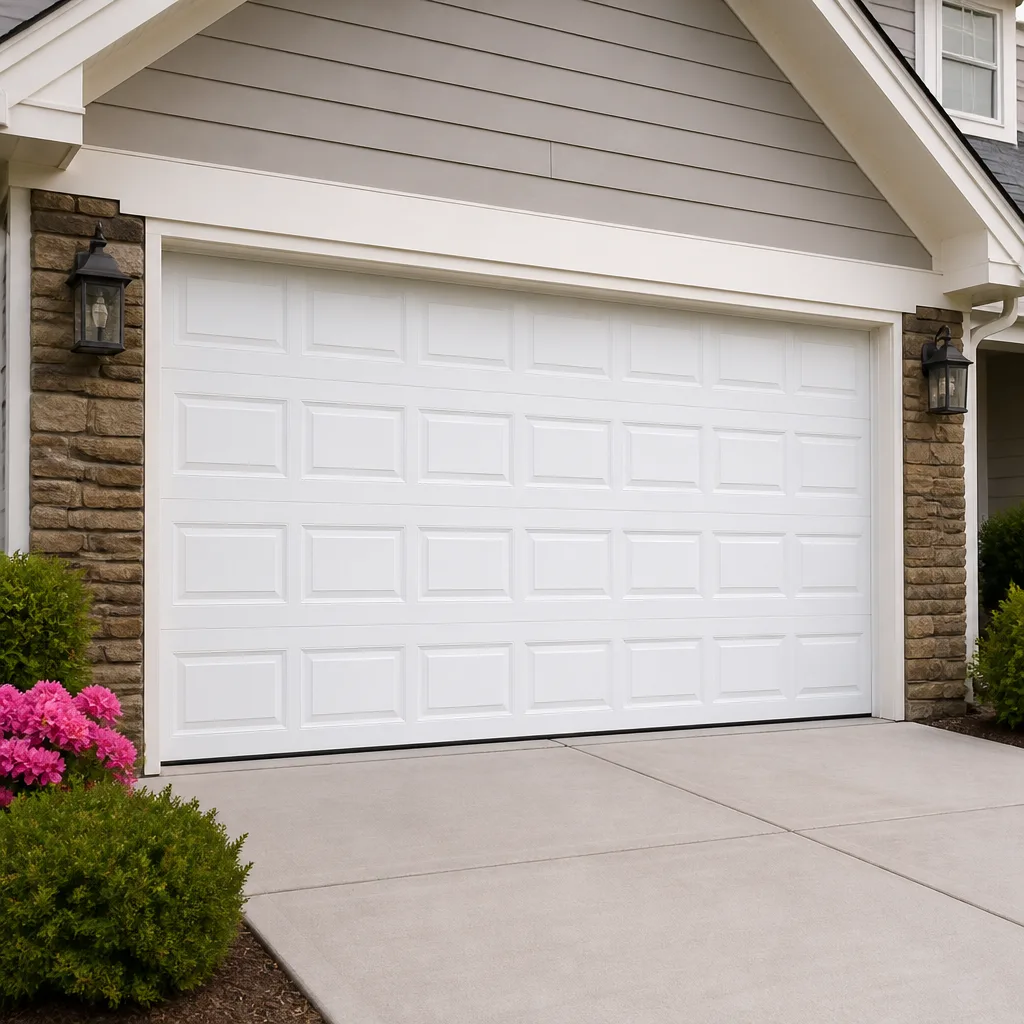 Raised-panel steel
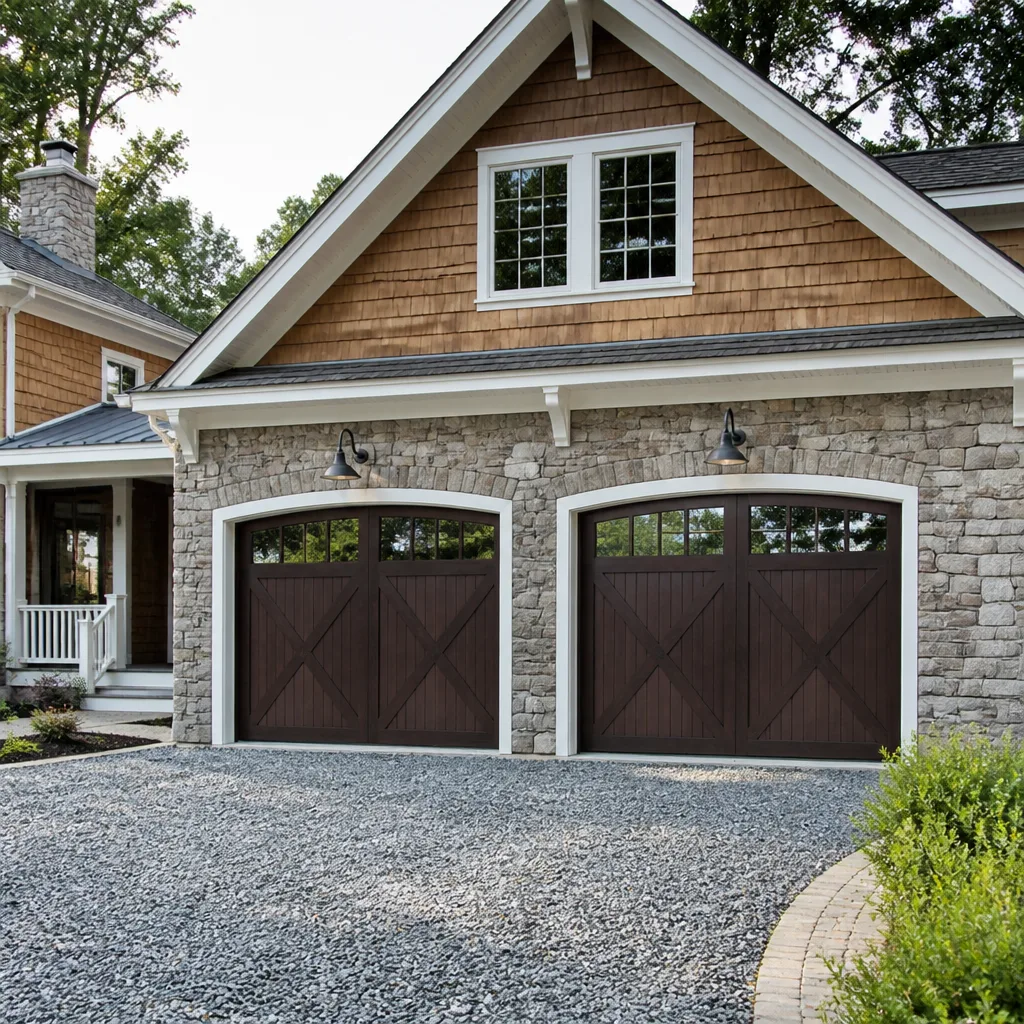 Carriage house
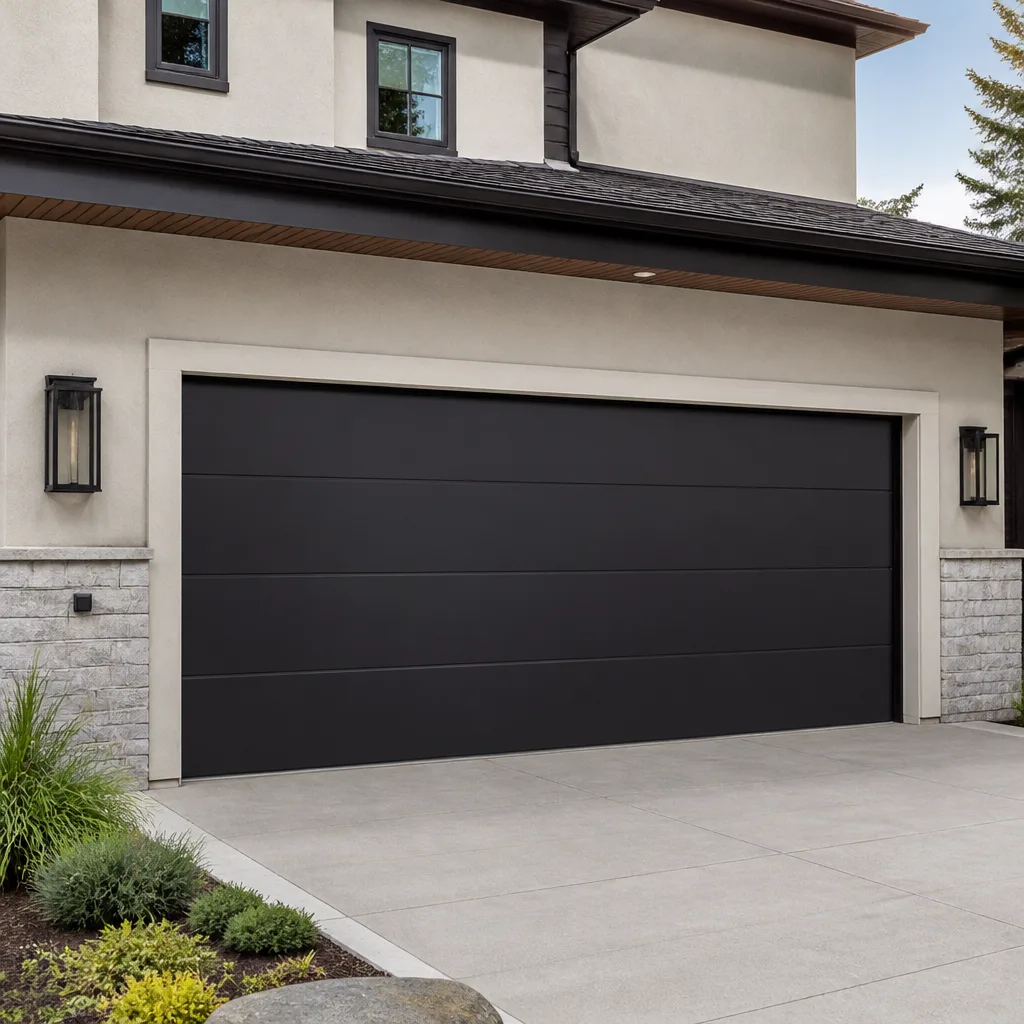 Modern flush
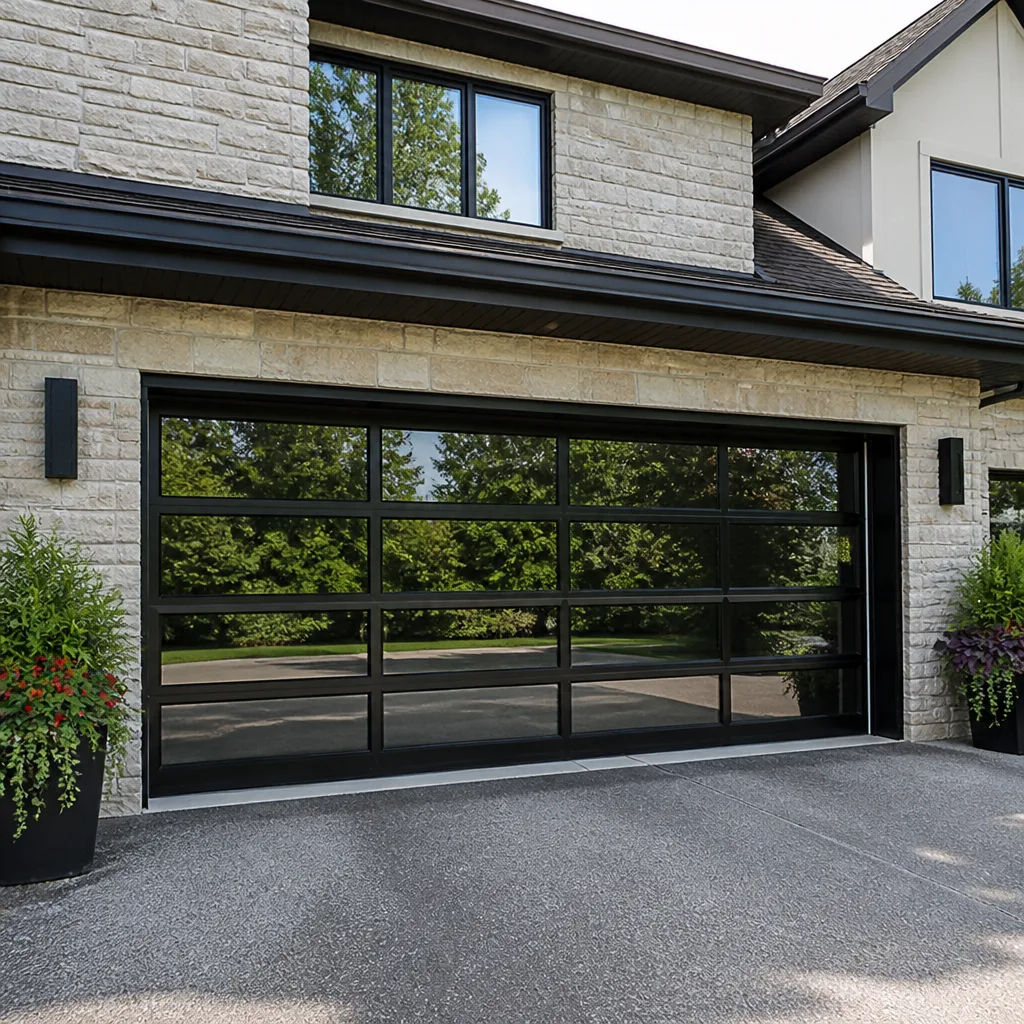 Full-view glass
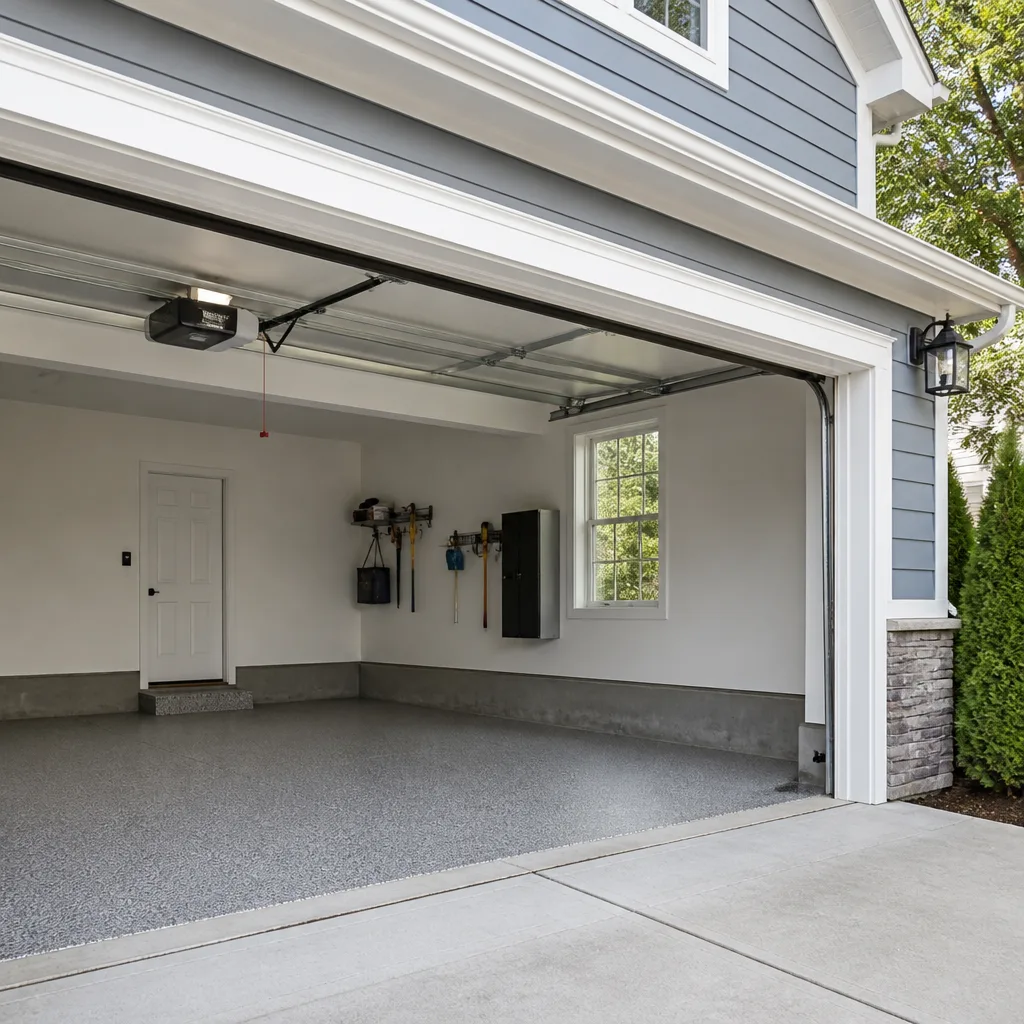 LiftMaster openers
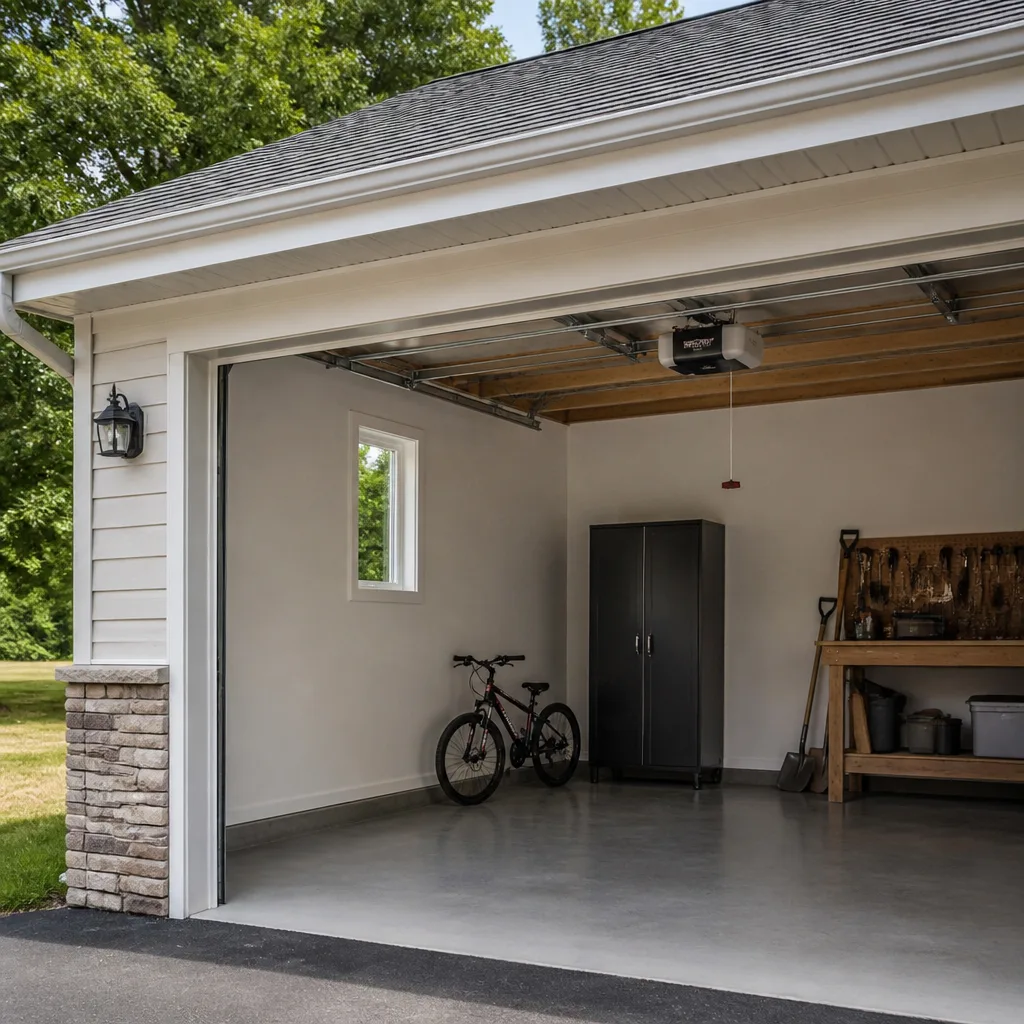 Chamberlain openers
Full 25-point door and opener safety check with every visit - springs, cables, rollers, tracks, and your LiftMaster or Chamberlain opener included
You get a price before we start. It does not change when the pro arrives.
Get your free estimateGarage Door Repair Troubleshooting in Sunnyside: Common Problems and How to Fix Them
Most garage door problems get misdiagnosed before anyone picks up a phone. A homeowner hears a grind, sees a gap at the bottom, or watches the door lurch and assumes the opener is dying, when the actual failure is a worn roller, a bent track, or a spring that gave up weeks ago and dragged everything else with it. You fix the symptom, the door works for a while, and then it fails again from the same root cause. This guide teaches you to read the system in the order a technician does, springs first and sensors last, so you can tell what’s actually wrong before you touch a tool or dial a number. We’ll cover the failures we see most often across Sunnyside, the checks that are safe to run yourself, and the ones that belong to a trained professional.
Quick Answer
Start your troubleshooting at the spring and work outward: springs, then cables, then tracks, then the opener, then the safety sensors. Run three checks before anything else – does the door move at all, does it balance when you let go halfway up, and does it close flush against the floor – because the answers point straight to the failed component. Spring and cable problems are never a DIY job; sensors, remotes, and track alignment on a door with no tension issues usually are.
Styles & brands we work with
- Raised-panel steel
- Carriage house
- Modern flush
- Full-view glass
- LiftMaster openers
- Chamberlain openers
Table of Contents
- The Component-First Diagnostic Order That Saves You Money
- The Five-Minute Three-Check Test
- How Sunnyside’s Streets and Housing Shape Garage Door Failures
- Springs and Cables: The Two Failures You Should Never Touch
- Tracks, Rollers, and Doors That Drag or Jump
- Opener Troubleshooting: Blink Codes and What They Actually Mean
- Safety Sensors, Remotes, and the Small Fixes Worth Doing Yourself
- Brand-by-Brand Quirks: Why the Same Blink Code Means Different Things
The Component-First Diagnostic Order That Saves You Money
Garage doors fail in a predictable sequence, and troubleshooting in that sequence stops you from chasing the wrong part. The order matters because each component loads the next one. A failing spring makes the opener work harder, which burns out the opener’s gear, which makes the door hesitate, which makes the homeowner replace the opener. The opener was never the problem.
Work through the system in this order:
- Springs. Look above the door. Torsion springs run horizontally on a shaft; extension springs run along the sides. A broken spring shows a clean gap in the coil. If you see that gap, stop – the door is unloaded and dangerous.
- Cables. Cables run from the springs to the bottom corners of the door and stay under heavy tension. Check for fraying, kinks, or a cable hanging slack. Do not pull on one to test it.
- Tracks. Look up the vertical and horizontal tracks from the floor. They should be straight, parallel, and firmly bolted. A visible kink or a gap between roller and track tells you a lot.
- Opener. Once the door itself moves freely by hand (with the opener disengaged), you can judge the opener fairly. If the door is heavy or binding, the opener is being asked to do work it can’t sustain.
- Sensors and controls. Last, because they’re the cheapest fixes and the easiest to blame. A door that reverses immediately is usually a sensor issue, not a mechanical one.
Skipping ahead in this order is how a simple problem turns into a big invoice. When we run a diagnostic in Sunnyside, the mechanical check comes first every time, because the answer to “why won’t my door close” is different depending on whether the door is binding or the beam is blocked.
The Five-Minute Three-Check Test
You can narrow down most garage door problems in under five minutes without tools. The test has three questions, and you run them in order. Write down the answers. They’re what a technician will ask you anyway, so having them ready turns a long phone call into a short one.
Check one: does it move? Press the wall button and watch. If the door doesn’t move at all, the problem sits in the opener, the power supply, or a sensor that won’t clear. If it moves a few inches and reverses, the sensors or the travel limits are your suspects. If it moves but strains, grinds, or shudders, the door itself is binding and the opener is fighting it.
Check two: does it balance? Pull the emergency release handle (the red cord hanging from the opener rail) and lift the door by hand to about waist height. Let go. A healthy door holds roughly where you left it. A door that drops fast has lost spring tension. A door you can barely lift has a spring, cable, or roller problem loading it down. This is the single most informative check you can run, and it’s safe because the door is disengaged from the motor.
Check three: does it close flush? Look at the bottom seal against the floor from inside the garage. A gap on one side means the door is uneven, which points to a track, cable, or spring imbalance. A gap across the whole width is usually just a worn bottom seal, which is a cheap fix. In Sunnyside, where a lot of garages sit at a slight grade off the street, a door that closes flush in summer can show a corner gap in winter as the slab and the door expand and contract at different rates.
Those three answers – moves or doesn’t, balances or doesn’t, closes flush or doesn’t – point you to a component almost every time. Note them down before you call anyone, including us. If the door won’t move and you’re worried about security or access, that’s the point to stop testing and call.
How Sunnyside’s Streets and Housing Shape Garage Door Failures
Sunnyside’s mix of rowhouses, walk-ups, and small detached garages produces failure patterns you won’t read about in generic guides written for suburban two-car doors. The housing stock here is tight, the temperature swings are real, and a lot of garages were built for one small car and nothing else.
The biggest local factor is thermal cycling. Concrete block garages and wood-frame garages absorb and release heat at different rates, and the door takes the brunt of it. Springs that live in an unheated garage cycle through expansion and contraction with the seasons, and that’s where metal fatigue starts. A torsion spring rated for a set number of cycles doesn’t care what month it is. Combine those swings with the daily open-and-close pattern of street-parked cars being moved and you get a lot of spring failures in the same few weeks of the year.
Street parking pressure shapes behavior, too. When a driveway is short or shared and the car has to be moved to the street every morning, the door gets cycled more often than a suburban door and gets manually forced more often when it sticks. Forced doors are how tracks get bent and cables get jumped. We see more bent bottom brackets and misaligned tracks in Sunnyside than in neighborhoods where the car sits in the driveway.
Low-clearance garages add a third pattern. Many old Sunnyside garages have a shallow ceiling height, so the door uses a low-headroom track configuration with extension springs rather than torsion. Those setups behave differently: extension springs stretch along the sides, they fail with a bang more often, and they need a safety cable running through the center of each spring. If your garage has side-mounted springs rather than a horizontal shaft above the door, that’s what you’re looking at, and it changes the diagnostic conversation.
None of this means your door is doomed. It means the failure patterns you’ll see in Sunnyside are specific to tight lots, older garages, and real seasonal temperature swings, and troubleshooting should start from there.
Springs and Cables: The Two Failures You Should Never Touch
Garage door springs and cables are the two components you should never adjust, replace, or even test under load yourself. A torsion spring holds the full weight of the door in tension, and releasing that tension without the right winding bars and the right sequence can cause serious injury in an instant. Extension springs are just as dangerous: when one fails it can whip toward whatever is in its path, which is why safety cables exist.
Here’s what’s safe to do. You can look at a spring and read it. You can see a gap in the coil, and you can see rust or sag. You can look at a cable and spot fraying or a slack strand without touching it. That’s the extent of it. You don’t want to wind, unwind, loosen, or “test” a spring, and you don’t want to pull a cable to see how much tension it’s holding.
What a trained technician does instead is a controlled, sequenced process: secure the door, wind down the tension with the proper bars, replace the spring, and rebalance the door so the opener isn’t carrying extra load. Our technicians have up to 14 years of experience, and they treat every spring call as a safety job rather than a parts swap, because that’s what it is. A matched pair of springs is usually replaced together, since a spring that has already cycled alongside a broken one is close to the same failure point.
If you see a broken spring, hear a sharp bang from the garage, or find the door hanging open with the opener running and the door not moving, stop. Don’t run the opener. Don’t try to lift the door by hand with the opener engaged. Leave the door where it is and have it looked at. For this kind of repair, call garage door repair – this is exactly the work trained technicians are for.
Tracks, Rollers, and Doors That Drag or Jump
A door that grinds, jumps, or drags is usually telling you about its tracks and rollers, and those are easier to read than springs. Stand inside the garage and look up at the vertical tracks along each side. They should be straight and parallel to the door edge. A track that flares out at the bottom or shows a kink near a joint is out of alignment, and the roller is riding it at an angle instead of straight.
Common causes of track and roller trouble in Sunnyside:
- Contact with the door. A bumped track is the most common cause. When a car or a bike clips a vertical track, it bends slightly, and from then on the door drags on that side. Check the bottom few feet of each vertical track first, because that’s the part that gets hit.
- Worn steel rollers. Old steel rollers wear flat and start to rumble. Nylon rollers run quieter but can crack. If the door sounds like a train, the rollers are usually the reason.
- Loose track bolts. Vibration works track fasteners loose over time. A track that wiggles when you push on it near a bracket is loose, and a loose track will eventually pull the door out of its line.
- Debris in the track. Small stones, leaves, and grit collect in the horizontal tracks. This one is genuinely safe to clear, and it fixes a surprising number of “the door is sticking” complaints.
Track alignment itself is a judgment call. A slight bend can be nudged back with care on a door with no spring or cable problems, but a track that’s out of square, bent at a joint, or misaligned at the top needs proper adjustment so the door tracks evenly and the opener isn’t fighting the geometry. If the door has been running on a bent track for a while, the rollers and hinges have taken wear too. If you’ve lost access or the door is jammed, treat it as urgent service rather than a weekend project.
Opener Troubleshooting: Blink Codes and What They Actually Mean
Openers report their failures through blink codes, and reading those codes correctly is where a lot of homeowners go wrong. The light on the motor unit blinks a set number of times, pauses, and repeats. That count is a diagnostic message from the manufacturer, not a generic “something’s broken” signal. Reading it before you do anything else tells you where to look.
The trouble is that the same count means different things across brands. This is the mistake we see most often in Sunnyside: a homeowner looks up “opener blinking” on their phone, finds a chart that matches a different brand, and ends up replacing a safety sensor when the real fault was a travel limit.
Rough order to work through opener problems:
- Check power and the breaker first. Sounds basic, and it resolves a real share of dead-opener calls.
- Watch the blink pattern and count the flashes between pauses. Then match the count to the correct brand’s manual or chart, not to whichever chart you find first.
- Test the wall button against the remote. If the wall button works and the remote doesn’t, the problem is the remote or its battery. If neither works, the problem is at the opener or a sensor.
- Disengage the door and run the opener alone. If the opener runs freely with the door detached, the opener is fine and the door is binding. If the opener still stalls, the opener is the suspect.
- Check the safety sensors. If the door goes down an inch and comes straight back up, jump to sensors before anything else.
Our garage door opener repair work covers all the major drive types and the smart-home-compatible models, and we’d rather fix the opener you have than sell you a new one, because most opener failures are a single failed component – a gear, a logic board, a capacitor – not a dead unit. We work on LiftMaster and Chamberlain systems regularly, along with Genie and older Craftsman units, so the blink code in your manual is one we can read too.
Safety Sensors, Remotes, and the Small Fixes Worth Doing Yourself
A large share of garage door problems are in the two small, safe-fix category: the safety sensors and the remote. These are the repairs you can genuinely handle yourself, and doing so saves you a call.
Safety sensors. The two small units at the bottom of each vertical track fire an invisible beam across the opening. If it’s broken, the door won’t close, or it closes partway and reverses. Look for a misaligned sensor, a dirty lens, or something in the beam path. Wipe the lenses with a soft cloth. Nudge each sensor until its indicator light is solid. Check that the mounting bracket hasn’t been knocked, which happens routinely in tight Sunnyside garages where the door opening is close to where the car parks. Sensors also lose alignment from being brushed by a garbage can or a bike, and that’s usually a two-minute fix.
Remotes. A remote that stopped working is usually a battery, and occasionally a lost rolling code after a power interruption. Replace the battery first. If that doesn’t do it, re-pair the remote to the opener using the learn button on the motor unit. This is easy and doesn’t require service. Multi-button remotes and smart-home integrations sometimes need the pairing redone after a home router reset, which surprises people.
The dividing line is simple: if the door doesn’t move because something is stopping the close, you’re probably looking at a sensor. If it moves unevenly, strains, or won’t stay up, it’s mechanical and needs a technician. If your door won’t open at all and you need the car out, that’s where the difference between a quick diagnostic and waiting on a service call matters.
Brand-by-Brand Quirks: Why the Same Blink Code Means Different Things
Garage door openers are not interchangeable, and the failure codes prove it. A Chamberlain opener blinking four times means something completely different than a LiftMaster blinking four times, and reading the wrong one sends you down a false path. This is where a technician who works across brands saves real time. We’re trained on LiftMaster, Chamberlain, Genie, Clopay, Amarr, Wayne Dalton, Craftsman, and Raynor, so the code in front of us is one we can interpret on the spot rather than looking it up brand by brand.
Brand-specific patterns worth knowing before you call anyone:
- Chamberlain and LiftMaster share a lot of internal technology, which is why people assume their codes are identical. They’re close but not the same, and the mistake is expensive when it leads someone to replace a sensor that was never the issue.
- Craftsman openers, many of which came from an older generation of hardware, use a code set that no longer matches the current user manuals most homeowners find online. If you have an older Craftsman unit, the chart you find may simply be the wrong one.
- Raynor systems have their own quirks, and door hardware from Raynor doesn’t always line up with the assumptions a generalist makes about track and hinge standards.
- Smart-home-compatible openers can throw a diagnostic code caused by a software or pairing issue rather than a mechanical fault, which means the fix is a reset, not a repair.
Multi-brand coverage matters for more than codes. If a door is a Raynor and the opener is a Genie and the spring is a torsion setup from a third manufacturer, one technician has to know all three to diagnose the system without a brand-switching delay. That’s the reason we don’t favor any single manufacturer, and it’s why the same call covers a broken spring and a misbehaving opener without you finding a second contractor. If you’re planning a full replacement rather than a repair, garage door installation gives you a fresh start on the whole system, with brand choices explained honestly rather than steered toward one product line.
Common Mistakes to Avoid
- Replacing the opener when the door is the problem. If a door with weak springs is hard to lift, a new opener will only fail a little later. Fix the mechanical side first, then judge the opener honestly.
- Running the opener with a broken spring. The opener is designed to lift a door the springs are already holding up. With a broken spring, the motor is dragging the full weight of the door and burning itself out with every press. Stop running it.
- Matching a blink code to the wrong brand. A four-blink pattern from a Chamberlain does not mean the same thing as a four-blink pattern from a LiftMaster. Look up the code against your actual opener model before you buy a part.
- Forcing a door that’s out of alignment. A door that’s been shoved to the street in a tight Sunnyside driveway often carries a bent bottom bracket or a track knocked out of line. Forcing it further spreads the damage to the rollers and hinges.
- Spraying the tracks with lubricant. Lubricant on the tracks collects grit and dust, and the roller slides instead of rolling. Lubricate the rollers, hinges, and springs instead – and never coat a spring with anything that will attract dirt.
- Blaming a stubborn sensor for a mechanical problem. A door that reverses may be hitting an obstruction or binding on a track, not a sensor fault. Test the door by hand before you adjust the beam.
- Treating a seasonal gap as a worn seal. In Sunnyside’s seasonal swings, a door that seals in July can show a corner gap in January because the door and the concrete are expanding at different rates. Check the alignment before you replace the seal.
See the difference
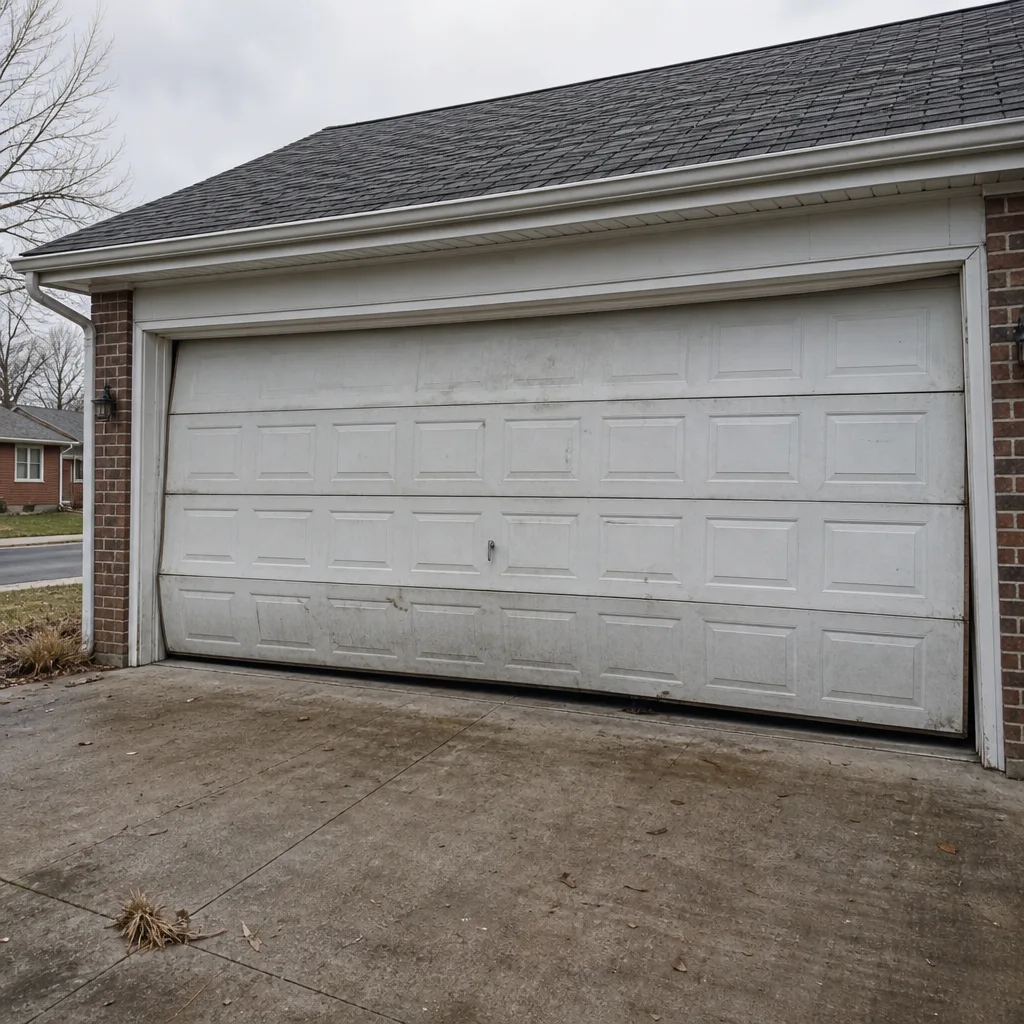 Before
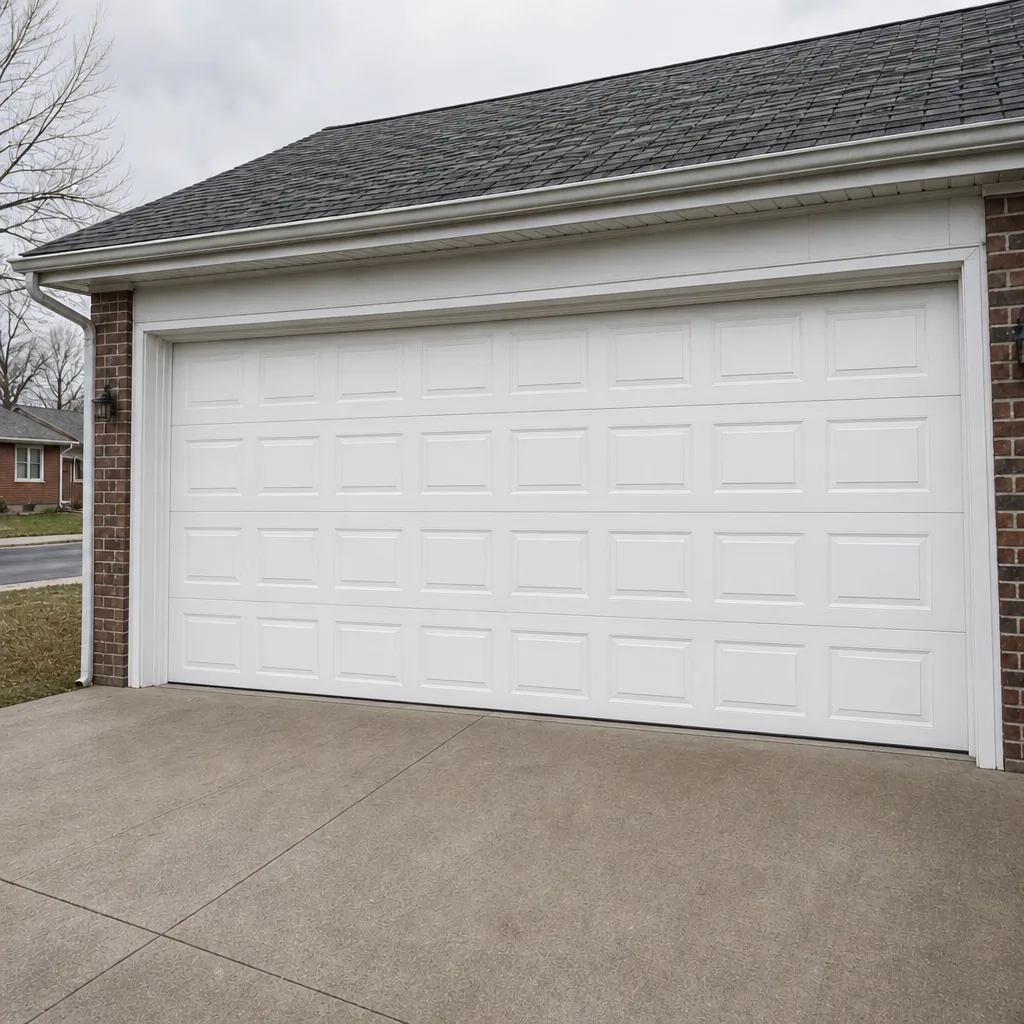 After
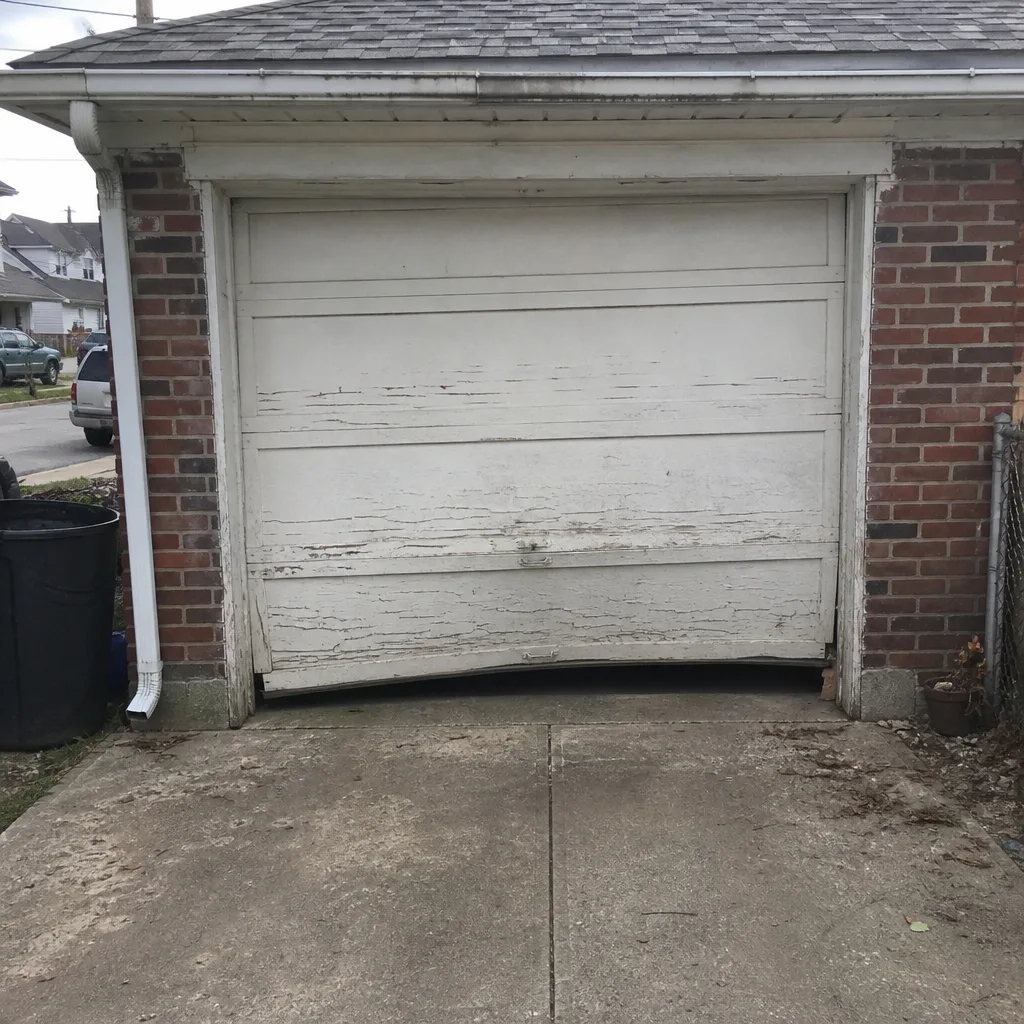 Before
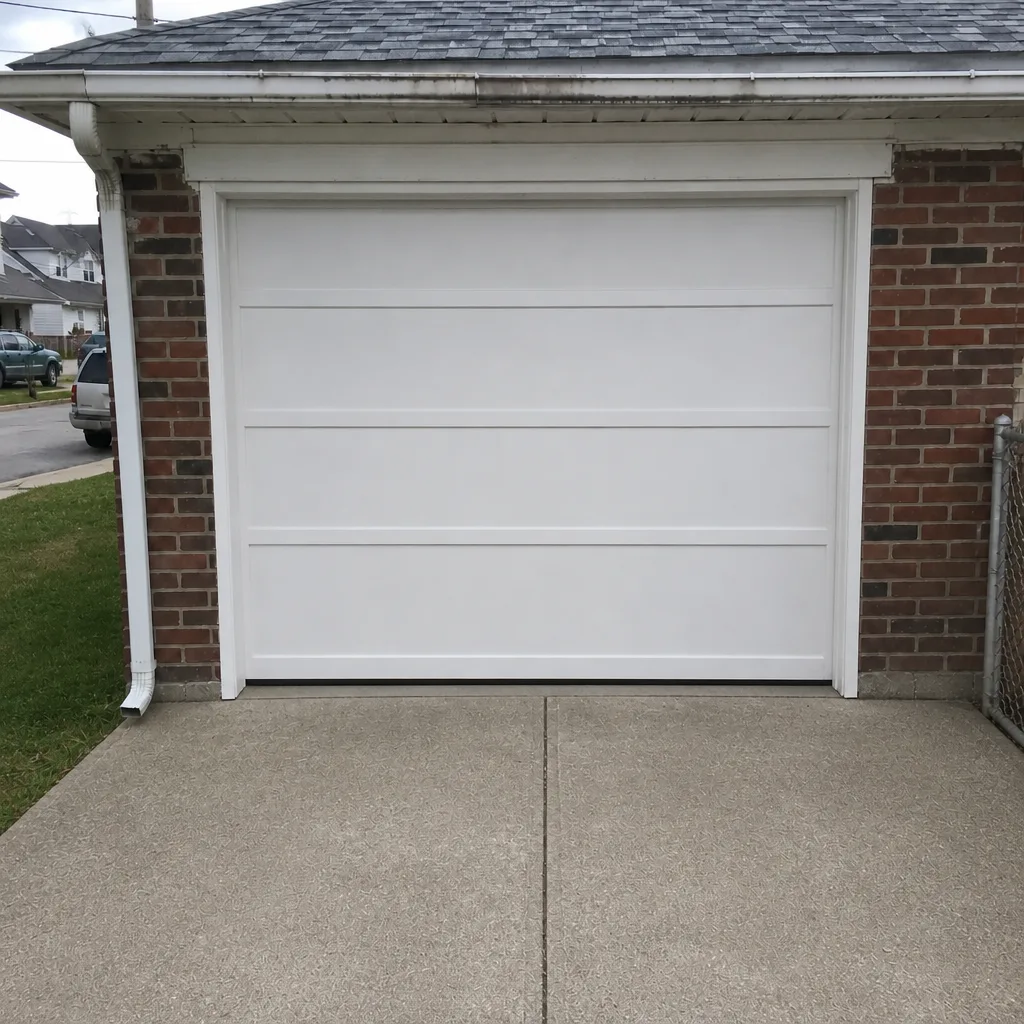 After
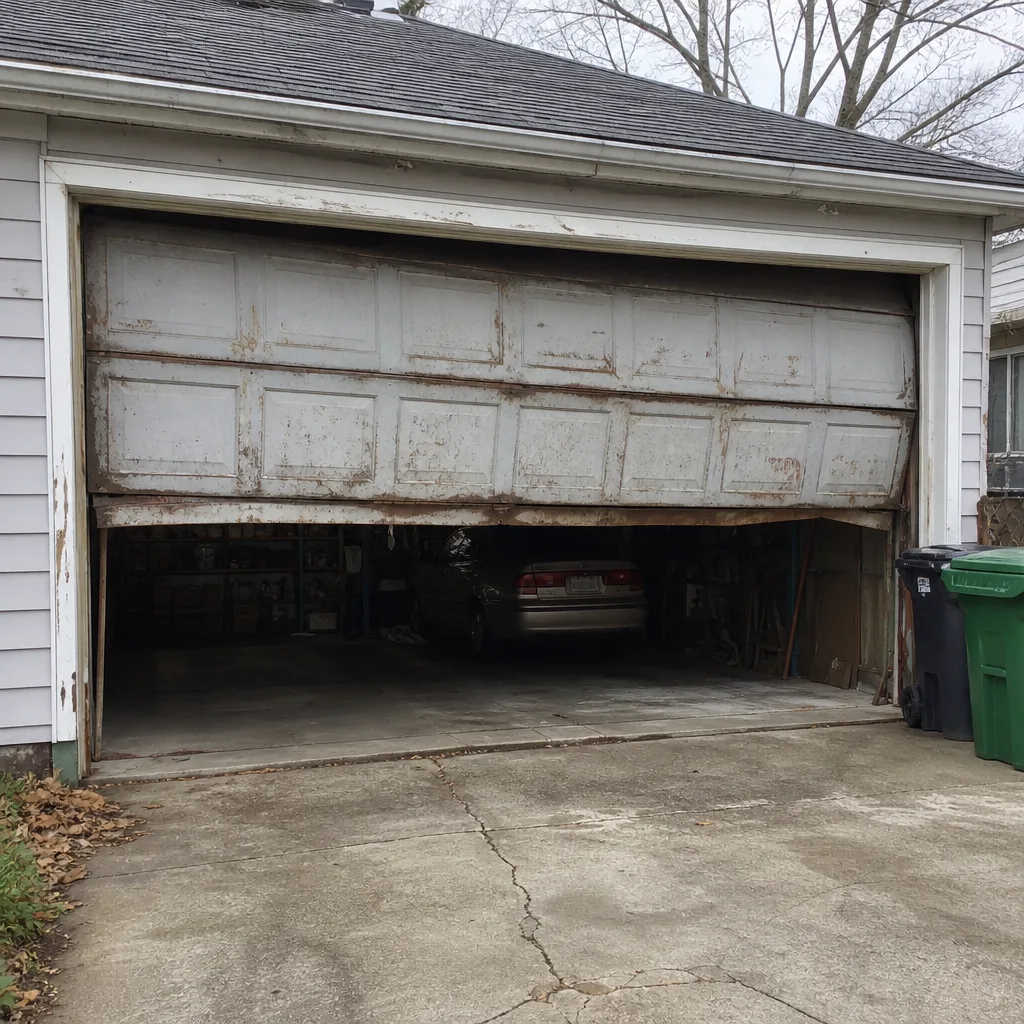 Before
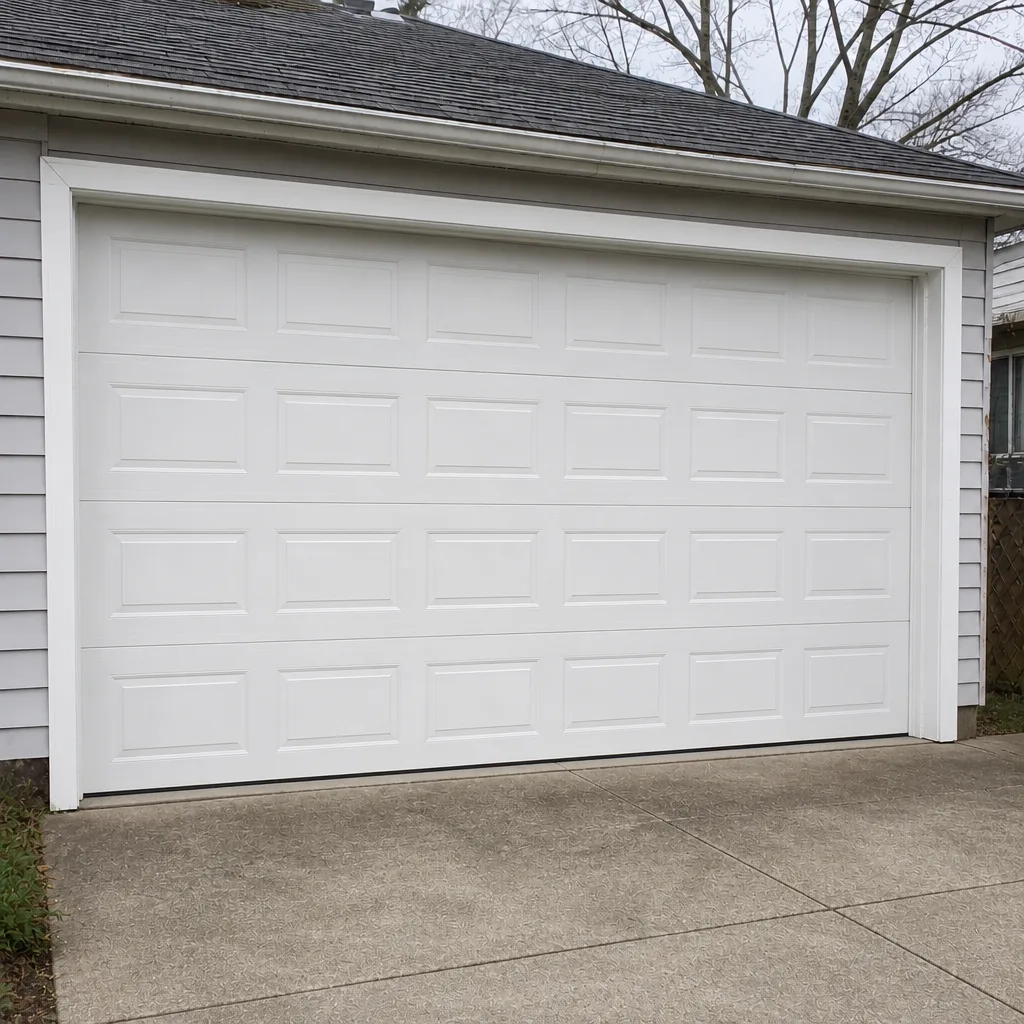 After
When to Call a Professional
Call a technician when you’re dealing with anything on the loaded side of the system: a broken spring, a frayed or slack cable, a door that dropped or is hanging unevenly, an opener that stalls or runs with the door not moving, or a track bent badly enough that the door drags. Those aren’t weekend projects, and they don’t get safer with time. The others are judgment calls: a sensor you can’t get aligned, a track you can’t straighten, an opener that keeps throwing a code you can’t trace, or an older door that has started needing monthly attention. If your door won’t open and you need access, that’s emergency service rather than a scheduled repair.
We repair across the major brands rather than pushing one, so the recommendation you get is about your door, not a dealer’s product line. Sunnyside Garage Door Repair Pros offers free estimates in Sunnyside – call (833) 918-8419. We answer 24/7. Fast dispatch from 7am to 7pm, Sunday through Friday. The estimate is free, the price is quoted and agreed before any work starts, and the written estimate sets the final price.
Frequently Asked Questions
A door that reverses or stops before it closes is most often a safety sensor issue, a blocked beam, or a travel limit that needs resetting. Check whether the sensor lights are solid and whether anything is in the beam path before assuming a bigger problem. If the sensor lights are clear and the door still reverses, the cause is usually mechanical – a binding track, a worn roller, or the door moving unevenly. Call (833) 918-8419 for an exact diagnosis – estimates are free.
No. A torsion or extension spring holds the full weight of the door in tension, and releasing that tension without the right tools and the right sequence can cause serious injury. You can safely look at the spring and see the break, but winding, unwinding, or replacing it is a job for a technician. If your spring has snapped, don’t run the opener. Call (833) 918-8419 – estimates are free.
The blink count is the opener reporting a specific fault, and the exact count maps to a fault in that brand’s manual, not to a generic fault across all openers. A Chamberlain blinking four times does not mean the same thing as a LiftMaster blinking four times, and matching to the wrong chart leads people to replace parts that were never the problem. Look up the code against your specific brand and model. If you can’t trace it, call (833) 918-8419 – estimates are free.
Most repairs are priced per job, not per hour, and the estimate you receive before work starts is the price you pay. Spring repair, opener repair, track and roller work, and sensor fixes all price differently, so a ballpark over the phone is only as good as the diagnosis. Call (833) 918-8419 for an exact quote – estimates are free, and the written estimate sets the final price.
Yes for repair calls. We treat a broken spring, a door off track, or an opener failure as urgent, because a door that won’t close leaves the garage open. We answer 24/7 and dispatch from 7am to 7pm, Sunday through Friday. A call outside dispatch hours is booked into the next opening, Sunday through Friday, 7am to 7pm. Call (833) 918-8419.
The local pro we connect you with is licensed and insured as required by the state, and technicians are trained to work on the major brands, including LiftMaster, Chamberlain, Genie, and Craftsman. Spring and cable work is handled with the proper tools and safety protocol rather than improvised. Call (833) 918-8419 for an exact quote – estimates are free.
The Bottom Line
Most garage door “mysteries” aren’t mysteries once you troubleshoot in the right order. Springs, then cables, then tracks, then the opener, then the sensors – and three quick checks (does it move, does it balance, does it close flush) will point you at the right component before you spend a dollar. Springs and cables belong to a trained technician; sensors, remotes, and loose track bolts often don’t. The brand matters for reading blink codes correctly, which is why a technician who works across LiftMaster, Chamberlain, Genie, and Craftsman saves you the guesswork. If the door is stuck, hanging, or unsafe, don’t force it. Call us instead.
Whether you’re troubleshooting a stubborn door or ready to look at a replacement, Sunnyside Garage Door Repair Pros handles the whole system – repair, opener work, springs, and new installation – so you’re not chasing down a second contractor for one garage door. Call (833) 918-8419 for a free estimate. We answer 24/7. Fast dispatch from 7am to 7pm, Sunday through Friday. We’re reachable through Sunnyside Garage Door Repair Pros.
Written by the team at Sunnyside Garage Door Repair Pros.